


Tesla vehicles may experience door alignment issues due to accidents, weather, or wear. Proper alignment is crucial for structural integrity and seal optimization. Specialized tools and expert body shop technicians ensure accurate adjustments using digital aligners and safety gear. Basic repairs can be handled by enthusiasts, but complex issues require professional services. Optimizing door seals involves thorough inspection, demounting, cleaning, applying sealants, and reassembly following collision repair standards.
“Tesla vehicles are renowned for their cutting-edge technology, but even these advanced cars aren’t immune to issues. One common problem owners may encounter is misaligned doors, leading to poor seal optimization and potential water intrusion. This article delves into the intricacies of Tesla door alignment and seal repair procedures. We’ll guide you through understanding common alignment problems, outlining essential safety precautions, and providing a detailed step-by-step process for optimizing your Tesla’s door seals.”
- Understanding Tesla Door Alignment Issues
- Tools and Safety Precautions for Repair
- Optimizing Door Seals: Step-by-Step Guide
Understanding Tesla Door Alignment Issues

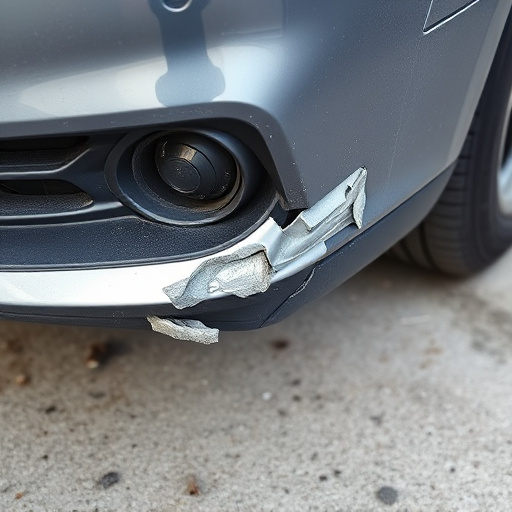
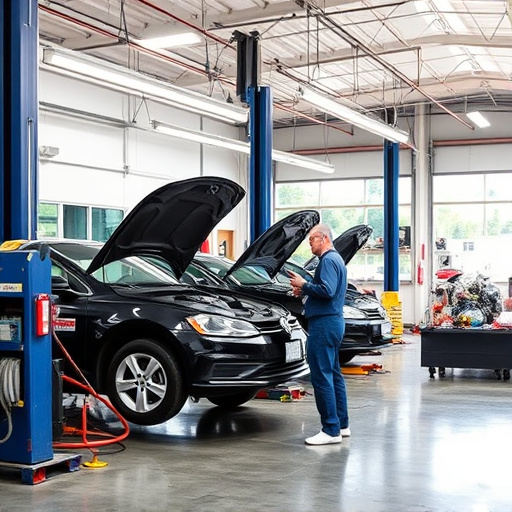
Tesla vehicles are renowned for their sleek design and advanced technology, but like any other car, they can experience door alignment issues over time. These problems may arise due to various factors such as minor accidents, harsh weather conditions, or even normal wear and tear. Misaligned doors can result in a poor seal, causing wind noise and potential water ingress into the vehicle. This not only affects the comfort of the occupants but also raises concerns about structural integrity.
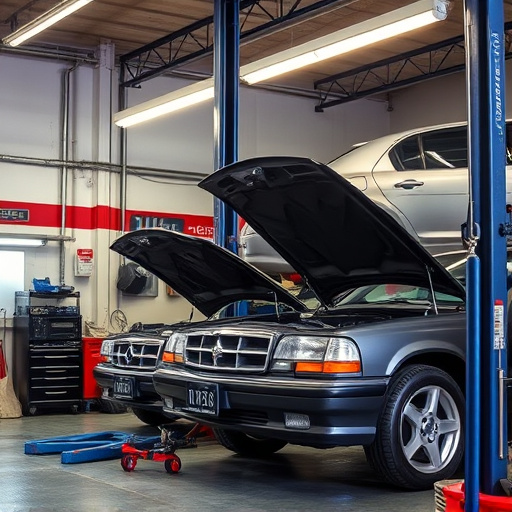
Proper door alignment is crucial for maintaining the overall health of your Tesla. At a well-equipped vehicle body shop, automotive repair experts utilize specialized tools to assess and correct any misalignments. By following precise Tesla repair procedures, they ensure that the doors close smoothly, the seal is optimized, and the vehicle’s structural integrity remains intact. This process often involves adjustments to the door hinges, panels, and sealing components, ultimately enhancing both the safety and aesthetics of the vehicle.
Tools and Safety Precautions for Repair

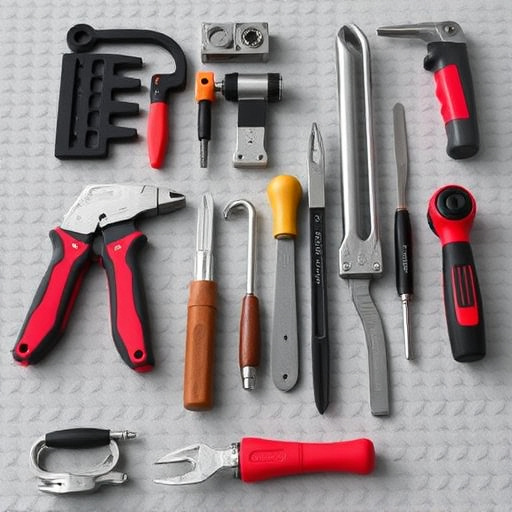
When undertaking Tesla repair procedures, especially for door alignment and seal optimization, it’s crucial to be prepared with the right tools and safety gear. This includes a variety of specialized equipment designed to accurately adjust door panels and ensure tight, seamless seals. For instance, a high-quality digital door aligner can make precise adjustments, while weatherstrip installers facilitate the proper fit of sealing materials. Additionally, a comprehensive set of safety glasses, gloves, and protective clothing is essential to safeguard against debris, chemicals, and potential hazards during the repair process.
Moreover, considering the intricate nature of Tesla vehicles, it’s recommended to consult detailed service manuals or seek guidance from authorized auto body services. These resources ensure that each step of the repair, from disassembly to reassembly, is executed correctly. While some basic repairs might be tackled by car enthusiasts, complex issues may necessitate the expertise of professionals who offer not just auto body services but also specialized tire services and superior auto painting solutions to restore your Tesla’s aesthetic and structural integrity.
Optimizing Door Seals: Step-by-Step Guide

Optimizing Tesla door seals is a crucial part of ensuring your vehicle’s overall performance and aesthetics. Here’s a step-by-step guide tailored for efficient Tesla repair procedures:
1. Inspection: Begin by thoroughly inspecting both doors to identify any wear, tears, or damage in the seal area. Use LED lights for better visibility to detect any gaps or cracks that need attention. This initial check will help you understand the extent of the work required and gather necessary tools for auto body repairs.
2. Demontage: Next, carefully demount the doors from your Tesla. This process involves detaching various components such as handles, mirrors, and trim pieces. Secure these parts individually to avoid damage during the repair. Once the doors are removed, examine the door frames and seals for any debris or foreign objects that might hinder a proper seal.
3. Cleaning: Clean the door frames and seals using appropriate solvents recommended by Tesla or your trusted vehicle body shop. This step ensures optimal adhesion when applying new sealing compounds. Remove all dust, grease, or previous sealant residue to guarantee a fresh and effective seal.
4. Sealant Application: Apply high-quality door sealants as directed by the manufacturer’s guidelines. Use a thin, even layer and follow the recommended application techniques. This process may vary depending on your Tesla model, so consult your vehicle’s service manual for specific instructions. Allow the sealant to cure according to the product specifications before proceeding.
5. Reassembly: After the sealant has cured, carefully reassemble the doors, ensuring all components are securely fastened. Double-check the alignment and fitment of each door to maintain the precision and integrity of collision repair shop procedures.
In conclusion, understanding and addressing Tesla door alignment issues is a crucial aspect of maintaining your vehicle’s integrity and performance. By following detailed Tesla repair procedures, such as those outlined for door alignment and seal optimization, car owners can ensure their electric vehicles remain in top condition. Armed with the right tools, safety precautions, and step-by-step guides, repairs can be performed effectively, enhancing both the aesthetics and functionality of your Tesla. These strategies are key to navigating the process efficiently and ensuring a seamless driving experience.